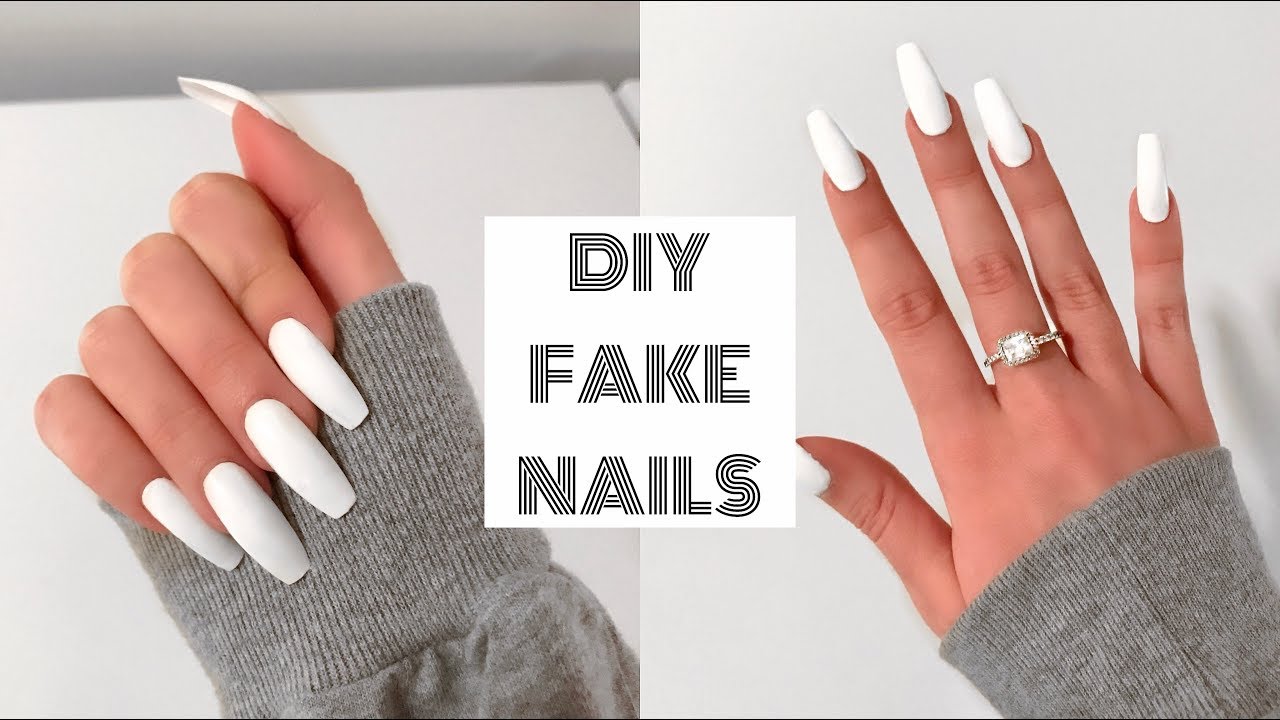
Doing Own Acrylic Nails At Home
10 Things To Do When You Re Bored What To Do When You Re Bored Diy Slime How To Make Slime Hey Everyone Fo Fake Nails Diy Fake Nails Acrylic Nails At Home

Step By Step To How To Do Your Own Acrylics French Tip Nails Disclaimer I Did Not Get This From The Diy Acrylic Nails French Tip Nails Acrylic Nails At Home

Diy 5 Min Fake Nails At Home No Acrylic Kellie Sweet Youtube Acrylic Nails At Home Diy Acrylic Nails Fake Nails

Diy Fake Nails At Home No Acrylic Easy Lasts 3 Weeks Put Several Coats Of Clear Polish On Prior To Fake Nails Diy Diy Acrylic Nails Acrylic Nails At Home

Diy 4 Different Fake Nails With Home Materials 5 Minutes Crafts Nail Hacks Fake Nails Diy Nail Hacks Diy Diy Acrylic Nails
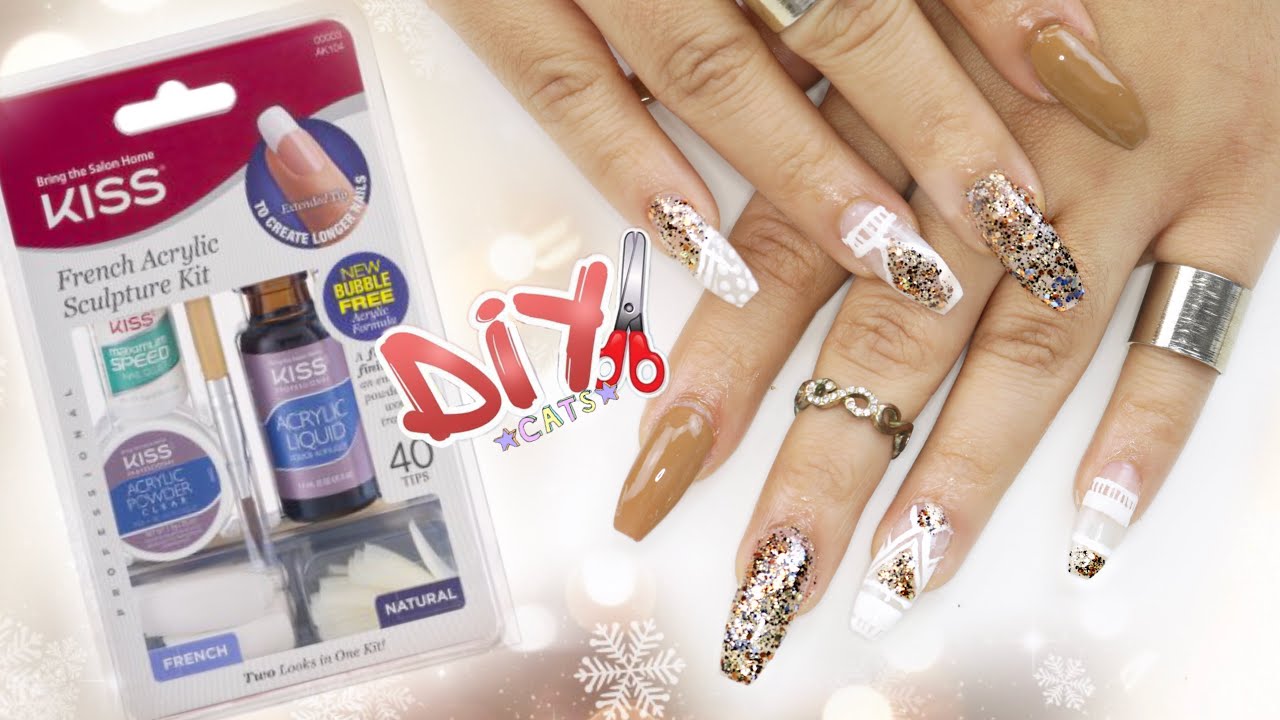
Diy Kiss Acrylic Nail Kit Coffin Nails Step By Step Acrylic Nail Kit Nail Kit Diy Nail Kit

Step 3 Join Top Bottom and Side Pieces Together.
Doing own acrylic nails at home. Sculpt the acrylic by pressing the brush flat to your nail and gently moving the acrylic to smooth out bumps and to spread it out evenly remember to keep your brush clean by dipping it into the acrylic liquid while doing this. Step 2 Cut Your Side Pieces. Acrylic nails are easier to do at home then what you think.
Set up a few folded paper towels nearby. Did you know that learning how to do your own nails isnt that hard. With a few basic tips and supplies you can easily do your own nails at home.
Using a cuticle pusher push back the cuticles. What do you need for acrylic nails. Acrylic Nails At Home.
However this type of pampering isnt always easy on the pocketbook. Spread it lightly and evenly to smoothen the area between your actual nail and the false nail tip. Place the second ball of acrylic near but not too close your cuticle.
Well point you in the right direction - and show you exactly how to apply your own acrylic nails at home for much less than youd spend at the salon. Dip the acrylic brush into the liquid and press the brush all the way down and wait for all the bubbles to dissipate and then slide the brush on the edge of the bowl to remove any excess liquid acrylic. Step-by-Step Instructions to DIY Acrylic Nails Step 1.
Acrylics dry very clear but give off very toxic fumes before it is cured. Step 3 Cut Your Back and Front Pieces. Here we are using a classic french tip.
3 Diy How To Make Fake Nails From Cotton At Home 3 Different Ways And How To Remove Them Youtube Idees Vernis A Ongles Vernis A Ongles Ongles Naturels

Diy Acrylic Nails Easy At Home Diy Acrylic Nails Gel Nails Diy Acrylic Nails At Home
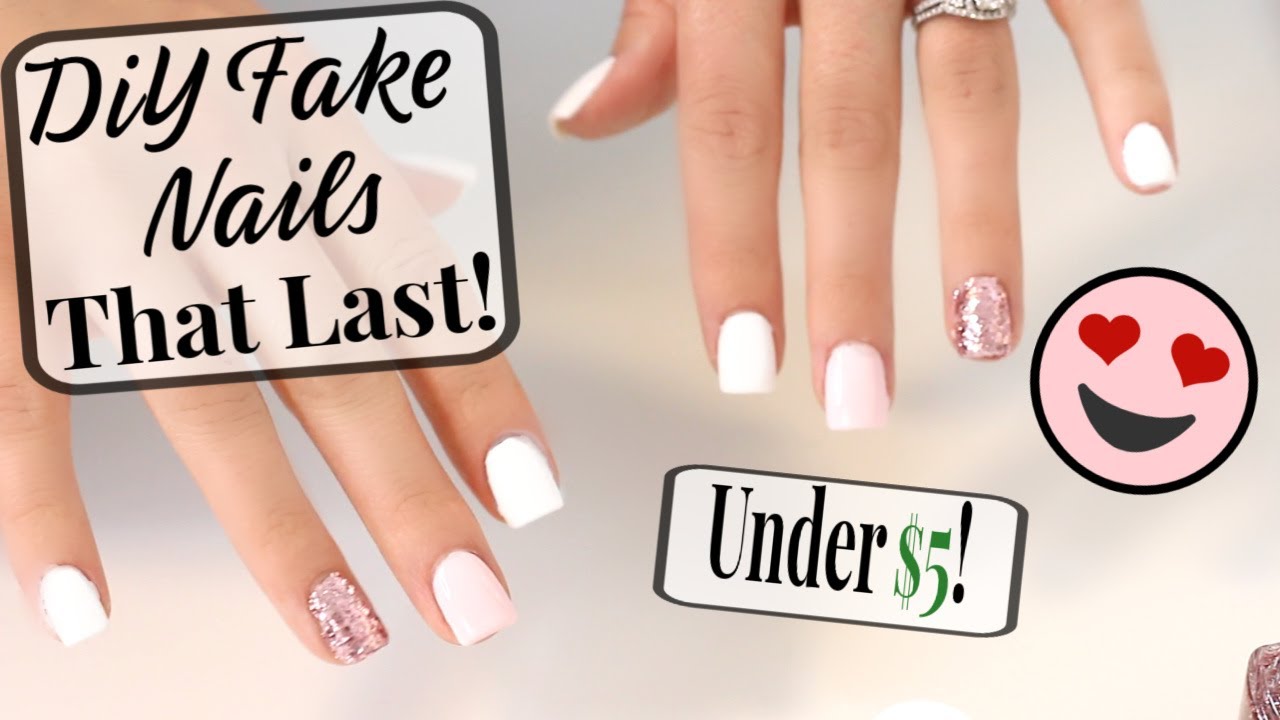
Diy Fake Nails At Home Last 2 Weeks No Acrylic Youtube Fake Nails For Kids Nails For Kids Fake Nails


